
Guide for Raspberry Pi Assembly
Guide on installation of Raspberry Pi and assembly of components.
Parts
In this guide, we will show a step by step assembly and installation of the Operating System for a Raspberry Pi 4 Model B (8gb Ram).
For this particular installation, we will need a Vilros kit which consists of the following pieces:
• One black aluminum case with a large cooling fan to cool down the unit.
• Power Supply of 5v-3A (USB-C connection).
• A micro HDMI adaptor for normal HDMI screens.
• One Raspberry Pi 4 Model B (8GB ram).
We also must have a microSD card as the Raspberry units disk space. We will launch our OS from said microSD card. The Vilros kit does not include one.
Assembly
The first thing we must do is verify that the Raspberry Pi be in optimal conditions, without damage of any kind due to the shipment process or manufacturing issues that have recently become relevant. Verify that there is no SdCard of any kind, but as mentioned, the Vilros kit does not contain an SD card.
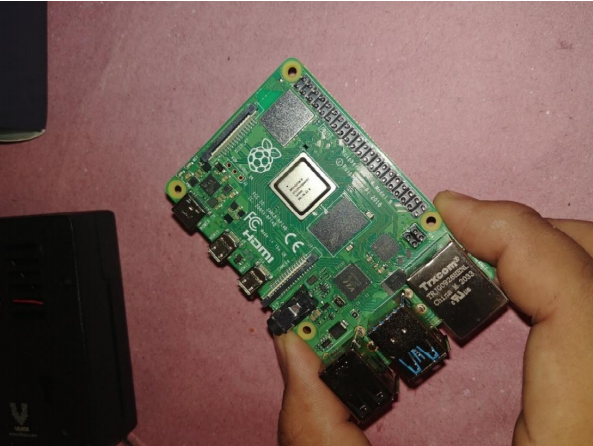
Raspberry Pi 8 model 8GB
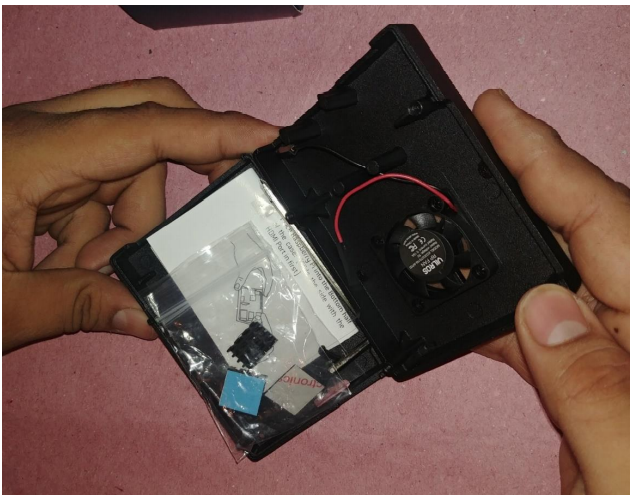
Vilros Assembly Kit
At this point, we begin to assemble the Raspberry Pi CPU/Controller into the Vilros aluminum case.
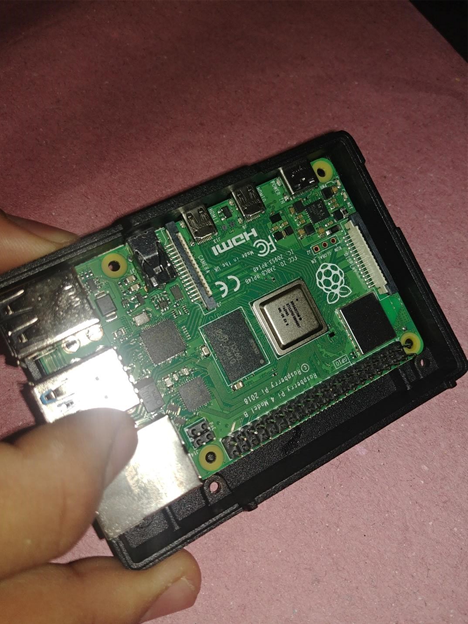
Vilros Kit + Raspberry Pi
The bottom of the aluminum case well mounted.
Once the case is securely attached to the Raspberry Pi, we need to also make sure that the heat dissipaters pictured below are ready.
Heat Dissippaters placed on top of Raspberry Pi Processors.
Each processor will have a dissipater glued to a chip surface. This permits for performance enhancements due to cooler operating conditions.
Ventilation
Now we must connect the cooling fan to the upper part of the case. The kit comes with an image that explains which of the metal pins to connect your fan to along with where to place a cable to ground the electricity (presumably).
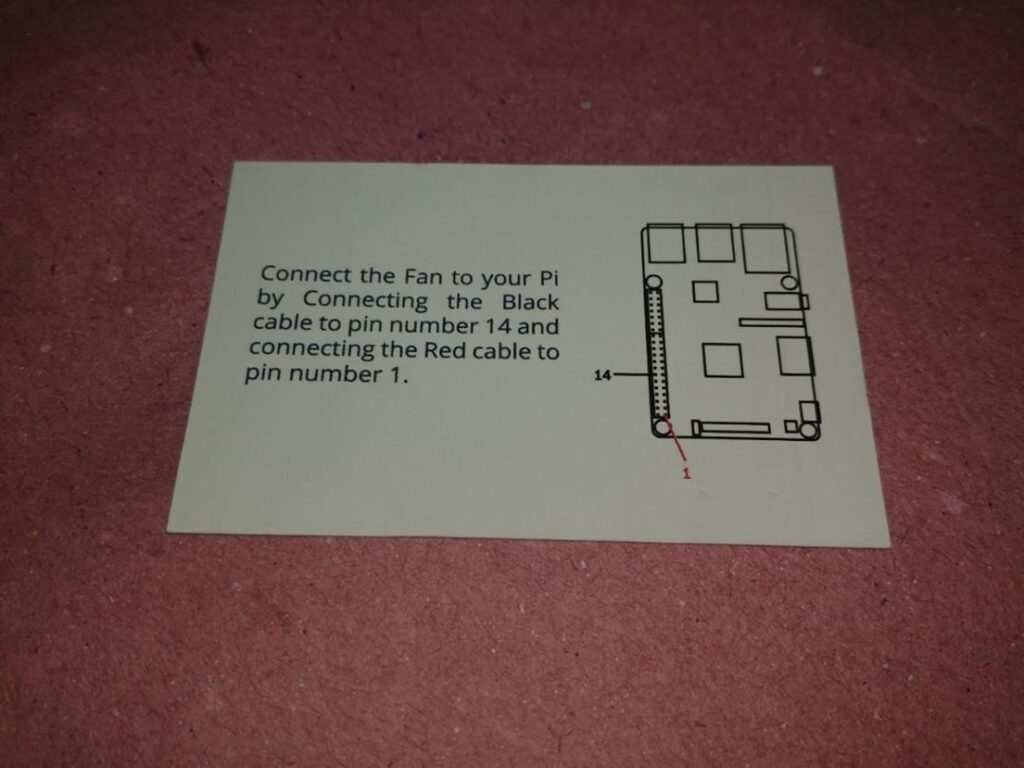
Manual specifying the right way to mount the fan.
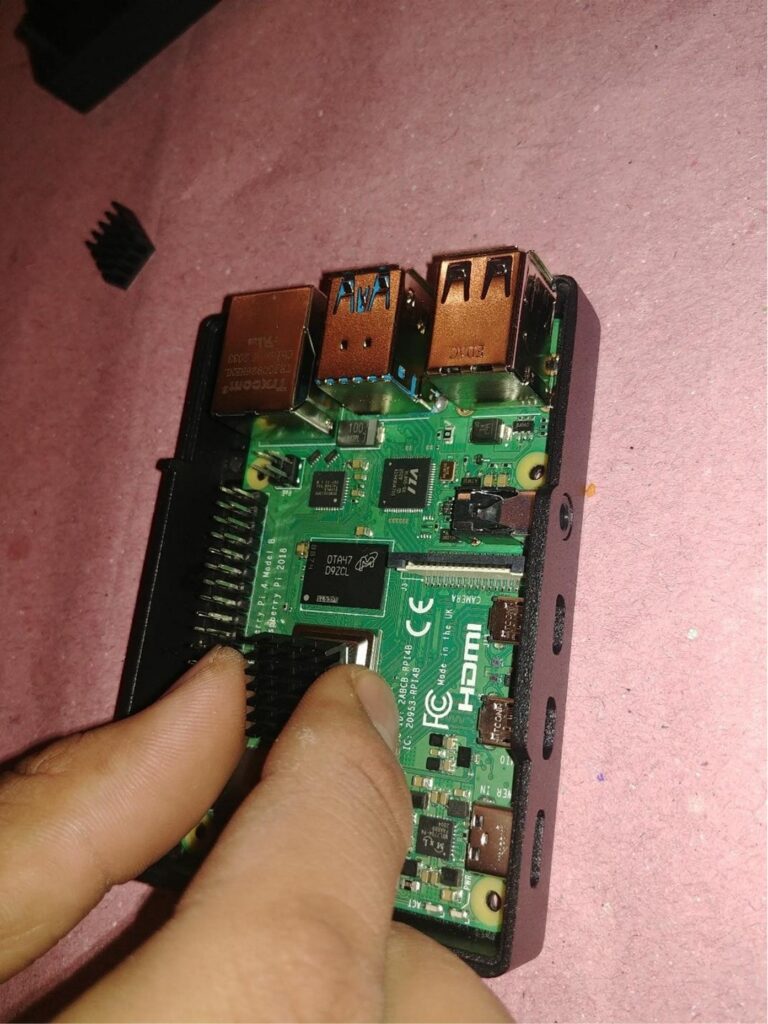
You’ll need to connect pin #1 to slot number 14.
The pin number assignment is literally at the bottom of the pins over the green surface of the board.
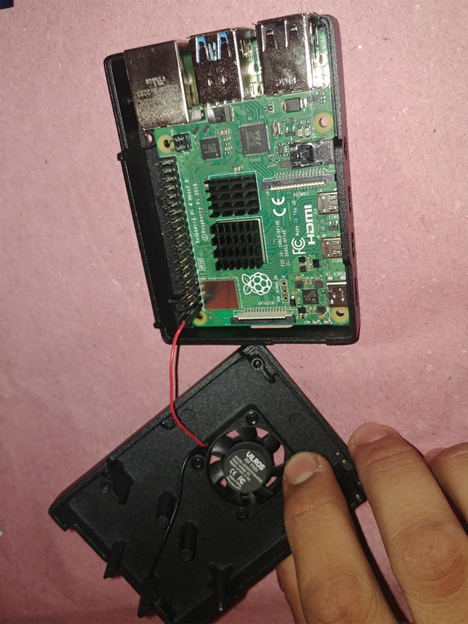
Connect the fan to #14 of the Raspberry Pi pins.
The picture above shows how to assemble the fan and connect it to one of the exposed pins on the Raspberry Pi. Make sure that these cables never intertwine with other unused pins or get somehow crushed in your assembly process.

This board can now be closed up with the case itself.
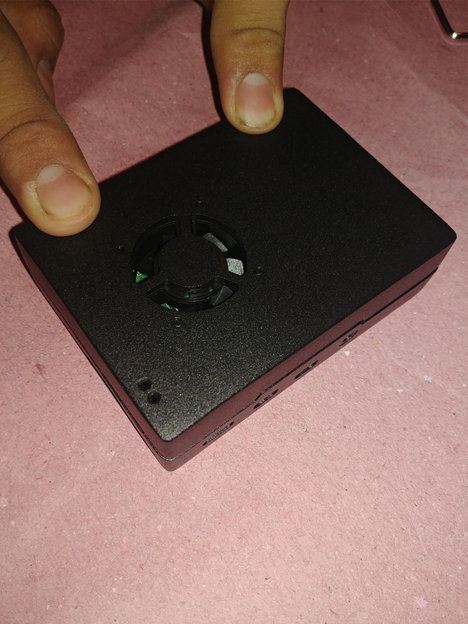
Assembled case final point.
The kit includes screws and screwdriver. You will also have to screw on bolts to hold the case firm:
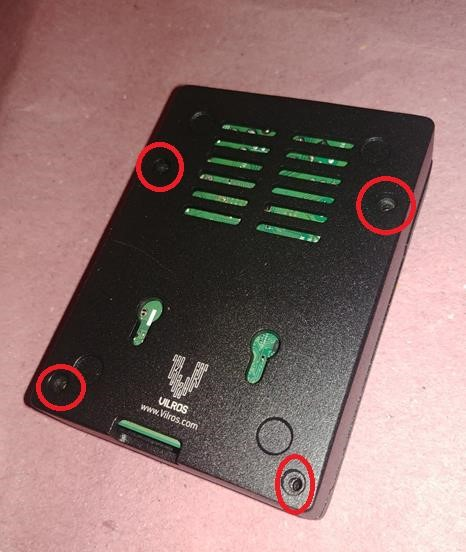
Screws go in red zone.
There are some optional stoppers you can place on top of the entry point for these screws. In this bottom image, youll see only the screwed on bolts since because I’ll be opening this case constantly, there will be a needless amount of work for me to access components.
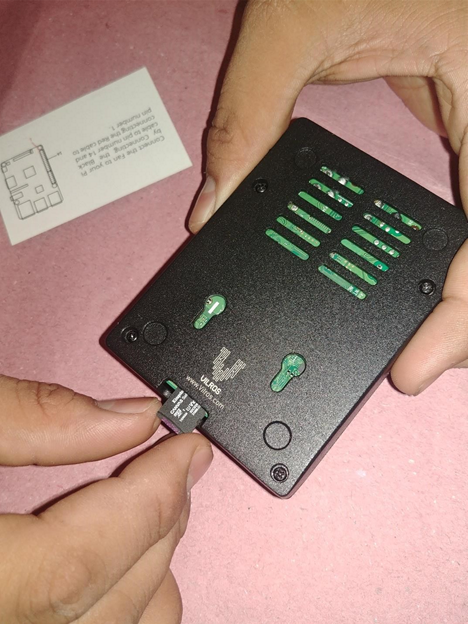
Insert the SD card where our Operating System will be loaded.
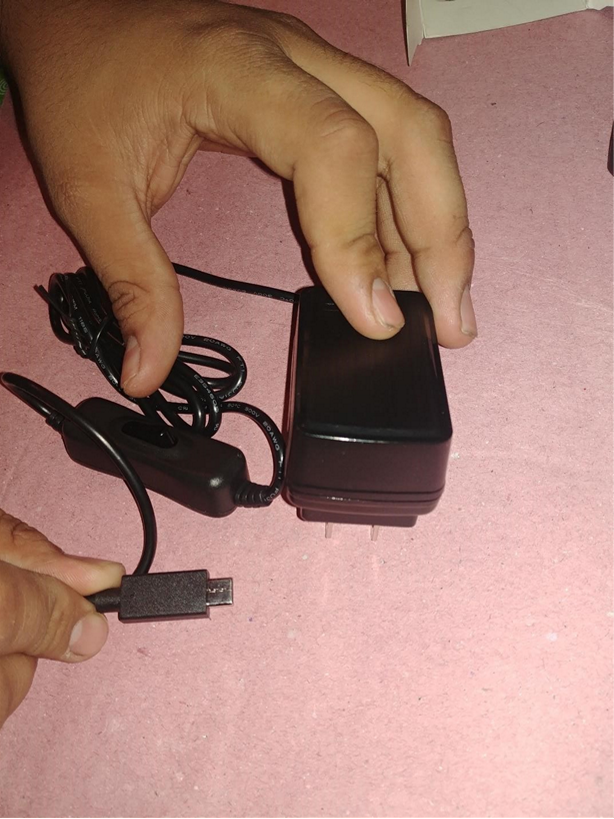
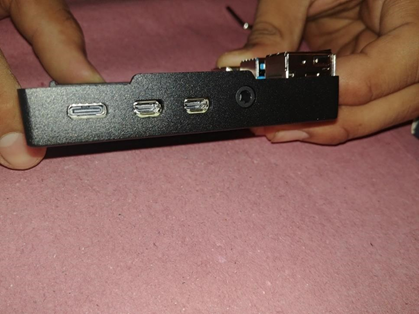
This is the Raspberry Pi 4 Model power supply.